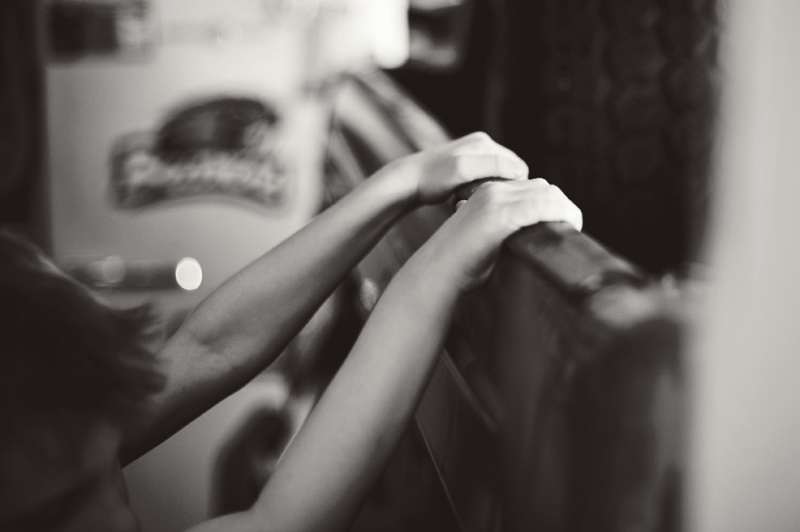
After I posted the link to Tuesday's post on FB, a friend commented and said, "He doesn't look like a little boy in that pic! I can see the future!" And she hit the nail on the head!
I see the future, older Max in these photos.
It makes this mom happy and sad all at the same time.
Anyway, I thought I'd post the rest and tell you what I did to the SOOC shot.
Here is the image SOOC:
Not too bad. I was smitten when I saw it - more for the look on his face and the light.
So, in Lightroom (recent purchase that was worth every.single.penny!) I cropped and then applied the following:
exposure +.33
contrast +10
whites +10
blacks +5
clarity +5
vibrance +5
I didn't do too much to the image...
Then using my VSCO presets I applied:
sharpen +
vignette +++
tone: kodak
That was it. I didn't want to do anything too drastic. I don't think the photo needed much editing.
Then I decided to try a black and white edit. I made one in LR, but I haven't been happy with my prints of black and whites I've created in LR (they look a little green to me.) Still working on that. So, I opened in Elements and used Florabella B&W and this is what I got:
I really like the high contrast, but I wanted to see what a little haze would do, so I applied the Florabella BW Tints & Hazes and turned on the Milk Haze at 15%. I kinda like it. What do you think?... I think the haze brought out a little bit more detail.

Anyway, here are the rest of the photos from that day.

Someday I'll master making collages. It's just sometimes too much work for my lazy self. I'm lucky if I get photos posted at all!
Happy almost Friday, friends.
a.
Showing posts with label b/a. Show all posts
Thursday, May 9, 2013
Wednesday, August 8, 2012
before & after: black & white
Last Thursday fellow blogger, Erika, shared some Before & After photos, and dared us all to post our own Before & After. My friends, Tracey and Susan, both posted great B&As! Loved them both. So, I thought I'd join the crowd. Though I can't imagine anyone comes looking at my photos and wonders how I created a great edit, but I'm going to pretend that they do! ;)
Here is my image SOOC. I knew as soon as I looked at it in camera that I would likely convert to black and white. Just too much color and distraction going on in this photo for me. I don't know that I could have created a color edit I would ever like.
I opened the imagine as a RAW file (though shot as a JPEG) and made the following changes:
temperature -6
tint -4
Exposure +35
brightness +20
clarity +15
saturation -10
I decided to try this Clickin Moms tutorial for converting to b&w. I love all of Melissa's work and especially love her black and white conversions, so when I saw her Clickin Moms tutorial I just had to give it a whirl!
I applied a gradient map, and then adjusted the levels to my liking. I flattened the image, sharpened and then resized for the blog. That's it! Voila! Pretty easy. And I really like the edit. I usually use Florabella's Vintage Chocolate black & white action. I really like the warmth it adds to a black & white image. But perhaps I've found a new way of converting to black & white.
I'd love to see your Before & Afters! :)
(As you can see in the color photo, we were deciding on a new paint color for the family room and kitchen. That olive green was nice eight years ago when I chose it, but it was time for something a bit brighter for our gloomy Pacific Northwest weather. I'll get around to posting photos of the new color one of these days.)
Subscribe to:
Posts (Atom)